Lathe Alignment Check
Headstock
None of the local hardware stores had an end fitting for water pipe to allow one be mounted on the face plate as per J.Latta's instructions, so I just used a piece of scrap mild steel 40mm in diameter, 150 long, in the four jaw.
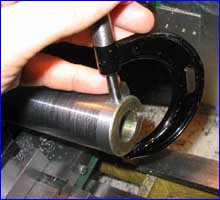
Rough machined the two flats with a relief between them using a carbide insert, using the tail stock for support, then removed the tailstock, and turned the tailstock end diameter to a nice finish. For these light cuts I used a sharp Cleveland M42 HSS-Co bit with almost no nose radius, to minimise cutting force and springback. Just accepted whatever diameter I got (came to 1.496"). Used the Starrett 1-2" micrometer my Dad gave me. Lovely instrument (Fig 1.)
Next the second, head stock, test flat was turned to match. I got this to within one "tenth" with about the same feel.
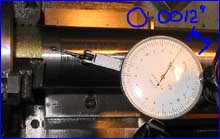
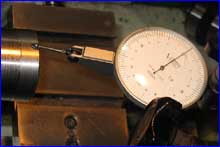
With the bar finished, the parallelism of the headstock, relative to the bed, can be measured. For this the incator holder is mounted to the cross slide, and traversed to measure the deviation between the two test flats. As noted in the J-Latta instructions, you should measure both surfaces while traversing the saddle in the same direction. My saddle has about 0.0002" of rocking between directions, measured at lather center height. I used the beautiful Verdict 0.0001" large dial DTI (also a gift from my Dad).
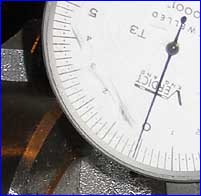
Fig 3. Headstock test flat (Left) and Tailstock test flat(Right)
As you can see in fig 3. above, the headstock is nearly perfectly aligned with the bed, horizontally. I ran about ten sets of measurements, rotating the test bar between tests, and even set up and checked from the rear of the bar, but this lathe really is this well aligned. The average of the tests is about 0.0001" difference, tailstock end back.
I have removed the headstock twice. Once when I first got the machine to clean out the sand and crap, and lube the gears, and a second time around the time I installed the CNC drive, to allow me to turn over the bed. It will be interesting to repeat this test next time I remove the head stock (I think the bearings are dry, and will likely fit some german ones), to see how repeatable the alignment with the prism is.
The next test, was to measure the vertical parallelism of the headstock.
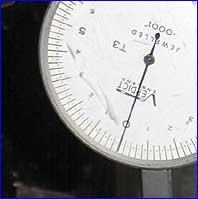
Fig 4. Headstock test flat (Left) and Tailstock test flat(Right)
This is more like what I expected. The headstock points upwards, but only a little over a thou over 5 inchs. This is pretty good, and will have little effect, but at next removal I'll shim this. I've never seen any complaints about headstock alignment on the 7X10 eGroup so it seems Sieg has a robust process and good quality control on the headstock and bed. Shame they couldn't set the same team loose on the tailstock.
